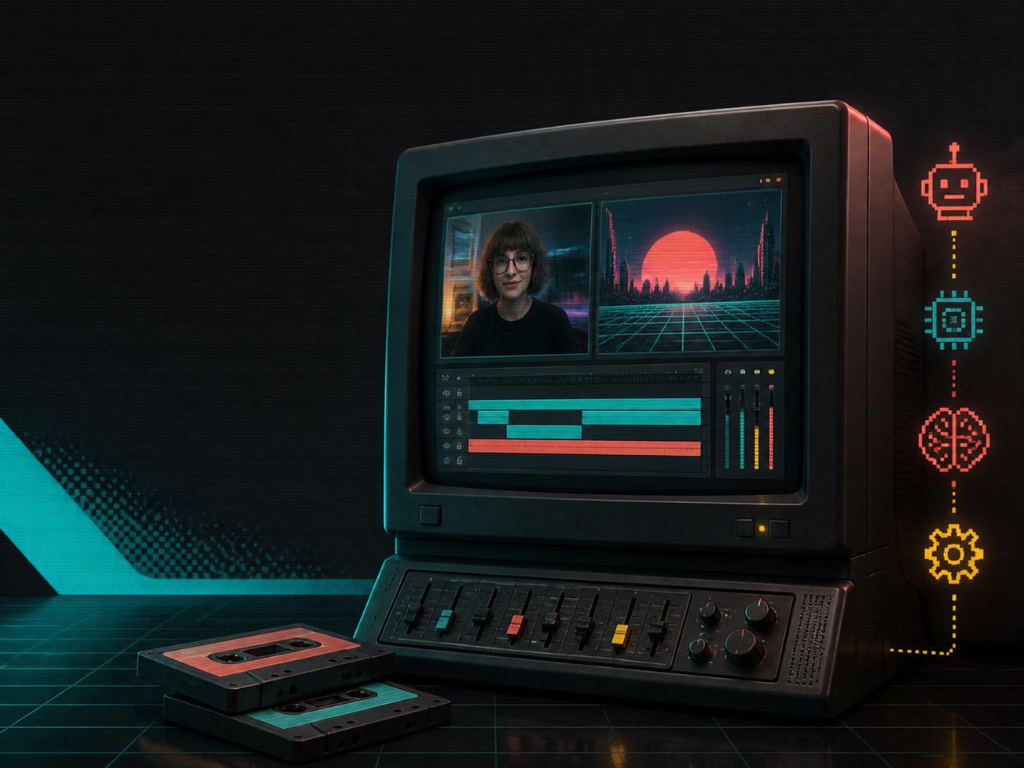
“Create a scene with my webcam on the left and my screen on the right.”
That is the kind of instruction I wanted to give an AI agent instead of manually working through OBS source settings and transforms. To make that workflow easier to set up, I packaged the open-source royshil/obs-mcp server as a Docker image and published it on Docker Hub.
The image exposes 127 MCP tools for controlling OBS Studio: scenes, sources, audio, recording, streaming, transitions, and more. You can connect it through Docker MCP Toolkit or run it directly from an MCP-compatible IDE.
docker pull raveendiranrr/obs_studio_mcp:V1From a Chat Request to an OBS Action
MCP, short for Model Context Protocol, gives an AI agent a structured way to discover and call tools. In this setup, the agent can discover operations such as listing scenes, creating a source, or adjusting a scene item’s position.
The flow is straightforward:
Your request
    -> MCP-compatible agent or IDE
    -> Dockerized OBS MCP server
    -> OBS WebSocket
    -> OBS Studio
The connector sends commands to OBS. OBS still handles the camera, screen capture, rendering, recording, and streaming.
An important distinction: this image contains the MCP connector, not OBS Studio itself. OBS must run separately on your computer or in another container.
What Can the Agent Do?
The tool set covers everyday production tasks and more detailed configuration:
| Workflow | Example tools |
|---|---|
| Check the connection | obs-get-status, obs-test-connection |
| Create and switch scenes | obs-create-scene, obs-set-current-scene |
| Arrange a layout | obs-create-scene-item, obs-set-scene-item-transform |
| Configure inputs and audio | obs-set-input-settings, obs-set-input-volume, obs-set-input-mute |
| Record | obs-start-record, obs-pause-record, obs-stop-record |
| Stream | obs-start-stream, obs-stop-stream, obs-get-stream-status |
| Inspect the result | obs-get-source-screenshot, obs-save-source-screenshot |
There are also tools for filters, transitions, replay buffers, the virtual camera, profiles, scene collections, and studio mode. Whether a particular operation works depends on your OBS version, plugins, and hardware.
Start with OBS WebSocket
Before connecting an agent, enable remote control in OBS:
- Open Tools > WebSocket Server Settings.
- Check Enable WebSocket server.
- Use port
4455, or note your custom port. - Keep authentication enabled and set or generate a password.
- Click Apply, then OK.
OBS Studio 28 and later includes WebSocket support. Individual tools may need a newer OBS version. See the official OBS WebSocket documentation.
For OBS running on the same computer as Docker Desktop, the connector uses:
ws://host.docker.internal:4455Using localhost inside a container would point to that container rather than your computer.
Connect Directly from an IDE
The image communicates over standard input/output, so an IDE can launch it as a local MCP server. Docker MCP Toolkit is optional for this approach.
Refere https://www.docker.com/blog/connect-mcp-servers-to-claude-desktop-with-mcp-toolkit/
First, create a private obs-mcp.env file outside your repository:
OBS_WEBSOCKET_URL=ws://host.docker.internal:4455
OBS_WEBSOCKET_PASSWORD=REPLACE_WITH_OBS_PASSWORD
Replace the placeholder with your actual OBS password. Docker env files pass values literally, so do not add quotation marks around the password. Keep the file out of version control.
For Cursor, add this entry to .cursor/mcp.json or ~/.cursor/mcp.json. Other clients using the mcpServers format can use it in their own configuration:
{
  "mcpServers": {
    "obs-studio": {
      "command": "docker",
      "args": [
        "run",
        "--rm",
        "-i",
        "--env-file",
        "/absolute/path/obs-mcp.env",
        "raveendiranrr/obs_studio_mcp:V1"
      ]
    }
  }
}
Replace the file path with a real absolute path. Keep -i; do not add -t or -d, because the MCP client needs to communicate with the process through stdio. There is no MCP HTTP port to publish.
For VS Code’s .vscode/mcp.json format, use servers as the top-level key and add "type": "stdio" to the server entry. See the Cursor MCP guide and VS Code MCP guide for client-specific details.
Use Docker MCP Toolkit Instead
If you manage your MCP servers through Docker MCP Toolkit, register a server definition that points to raveendiranrr/obs_studio_mcp:V1. For a minimal setup, create obs-mcp.yaml under ~/.docker/mcp/catalogs/:
name: obs-mcp
title: OBS Studio
type: server
image: raveendiranrr/obs_studio_mcp:V1
description: Control OBS Studio through OBS WebSocket using MCP.
allowHosts:
  - host.docker.internal:4455
env:
  - name: OBS_WEBSOCKET_URL
    value: "{{obs-mcp.websocket_url}}"
  - name: OBS_WEBSOCKET_PASSWORD
    value: "{{obs-mcp.websocket_password}}"
config:
  - name: obs-mcp
    description: OBS WebSocket connection settings.
    type: object
    properties:
      websocket_url:
        type: string
        default: ws://host.docker.internal:4455
      websocket_password:
        type: string
        default: ""
Then register and configure it:
docker mcp profile server add default --server file://obs-mcp.yaml
docker mcp profile config default --set obs-mcp.websocket_url=ws://host.docker.internal:4455
docker mcp profile config default --set 'obs-mcp.websocket_password="REPLACE_WITH_OBS_PASSWORD"'
These commands assume a profile ID of default; substitute yours if different. The profile commands are documented for Docker Desktop 4.62 and later. Notice the password quoting: it explicitly stores a string, which matters when the password contains only digits. Passwords containing quotes or backslashes require JSON escaping.
Configure your IDE to launch docker mcp gateway run --profile default as its stdio MCP server. Your agent can then access the servers in that profile. See Docker’s Toolkit CLI guide for details.
Verify the connection before making changes:
docker mcp tools call --gateway-arg=--profile --gateway-arg=default obs-test-connectionSeeing tools in the client does not necessarily mean OBS is connected. Connection testing is a separate step.
What I Learned Building a Split-Screen Scene
I used the connector to create MCP_SCENE and position an OBSBOT webcam over the left half of a 1280-by-720 canvas. The camera feed needed cropping to fill that narrower space without stretching it.
The screen capture side exposed a useful limit: OBS could see external monitors, but the laptop’s built-in display was unavailable. A selected external display was captured on the right instead.
An agent can configure the devices OBS exposes. It cannot capture a display that is inactive, select a disconnected camera, or bypass missing capture permissions. Asking the agent to identify sources before building a layout makes the result easier to verify.
A useful first prompt is:
Test the OBS connection, list my cameras and displays, then create a scene with my webcam on the left and the selected display on the right. Verify the layout with a screenshot.
A Few Practical Limits
The published V1 image is linux/arm64, suitable for Apple Silicon and other ARM64 Docker hosts. It is not yet a multi-platform image.
OBS still needs the appropriate camera, microphone, and screen recording permissions. If OBS runs in a container, its device access and networking must be configured separately. Paths used for recordings, media, or saved screenshots belong to the machine running OBS, not automatically to the MCP container.
Try It
For repetitive scene setup, recording preparation, or layout checks, an agent with OBS tools can save a lot of clicking. Start with a connection test and a small scene, check the result, and build up from there.
Try OBS Studio MCP on Docker Hub
Credit for the upstream server belongs to royshil/obs-mcp and its contributors. My contribution here is the Docker packaging and integration setup.
Disclaimer
This is an independent community image, not an official OBS Project or Docker product. It is provided as is, without warranty, subject to the repository’s included GPL v2 license and applicable third-party licenses.
These tools can change live scenes, start broadcasts, alter audio, and capture screen or camera content. Review agent actions, protect your WebSocket password, and test before live production. You remain responsible for what is recorded or broadcast and for any necessary permissions or consent.